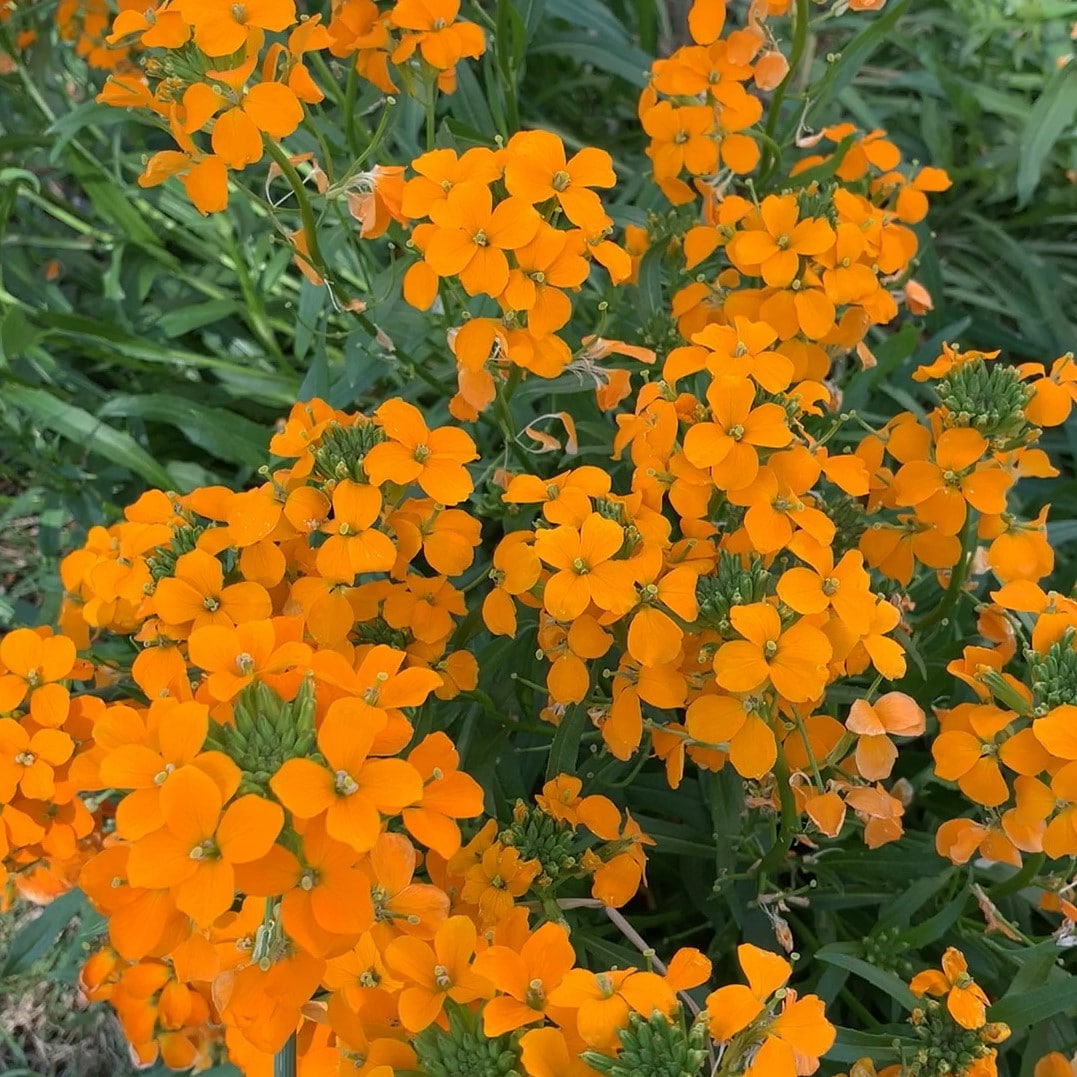
DIY Framed Dried Flowers are perfect for….Spring time! I didn’t get to plant new flowers in our backyard this year, but thankfully some stubborn seeds from last year decided to sprout! I’ve been in a bit of a flower kick so I thought why not preserve some??
I also have a bunch of old photos frames that have been needing some repurposing…
Photo frames + dried flowers?
Oh yes!
If you have some old frame laying around or you’re just looking for an inexpensive way to display gorgeous dried flowers in your home, here’s how to make DIY Framed Dried Flowers – the quick and easy way!


1. Dry Flowers
Pick wildflowers from anywhere! Don’t be afraid to try different shapes, sizes, and even just some greens/stems with small growth. It can be surprising what does and doesn’t look great.
Unless you’re using large frames and want a ton of flowers incorporated into your frame, you really only need a small handful of flowers. I was going for a more minimal look so I wanted just a few small stems per frame.
Pressing Tips:
- Set your iron on medium heat. For light colored or delicate petals, turn the heat to low so you don’t burn them.
- Use parchment paper instead of wax paper. Flowers tend to stick to wax paper after pressing.
- Trim to length and remove any unwanted leaves before pressing.
- Press one at a time. This makes it easier to get an even press. If you do want to do multiple flowers at one time, do only similarly sized flowers together. Mixing the sizes makes it difficult to make sure none of the flowers are burned or not fully dried.
- Plan to spend 3-5 minutes per flower, depending on the size.
- Press until you can pick up the flower and it it holds is (now flat) shape. You don’t want it to be flexible or bendy. If it is, give it another minute or two under the iron.


2. Prep Frames
Now that your flowers are dried flat, we need to prep the frames.
These frames were actually leftover from my wedding rehearsal dinner so I needed to find something to do with them! But you can find them at the Dollar Tree for $1.25! You will need two frames from the store for each pressed flower frame you want to make. To avoid having a solid background behind the flowers, you’ll need the extra pane of glass from the second frame.
This matted, 5×7 frame is inexpensive and perfect for making a floating frame.
We will use everything but the black backing from the first frame, and only the pane of glass from the second frame.
Once you’ve taken apart the frames, take the glass out and clean both panes.
Then break off the little brackets on the back of the frame. We won’t need them (they’ll just be in the way).


Next, we will repurpose the foam from the matte to use later for securing the glass.
Cut each strip of foam off of the cardboard matte. Then cut about a 1/3 of the width off so the strips are more narrow. Set aside for later.


3. Arrange Flowers
Now for the fun part! Arrange your stems on your frame however you like. Play around with different combinations until you find something you love! Once you’re happy with the configuration, lay the second piece of glass on top to create a flower sandwich.


4. Secure Glass
Now grab those pieces of foam you cut earlier. We will be gluing the pieces of foam along each side of the back of the frame. This is to secure the glass.
(Watch from the 2:28 mark on the video to see how to do this).
You’ll want to use a sturdy glue that will hold the foam securely in place (any all-purpose glue that works on plastic or wood or whatever frame material you are using should work). A glue that dries clear is a plus!
For the top, cut the piece of foam in half and leave a small gap in the center of the frame so it can fit over a nail if you plan to hang your frames.


Enjoy your Framed Dried Flowers!
Once your glue has completely dried, you’re ready to hang! Framed dried flowers are so elegant and are an inexpensive way to decorate around the house.


